
So you've downloaded the source code and
tried to modify it or to start writing your own game using it, and
you've run into bugs. What now? If you haven't done so already you
should of course read Appendix B and watch my YouTube video on debugging
at the bottom of the videos page. Once you've
done that, read about the debug tools that I've provided in the code.
They go a couple of steps beyond the OutputDebugString function
that Visual Studio provides.
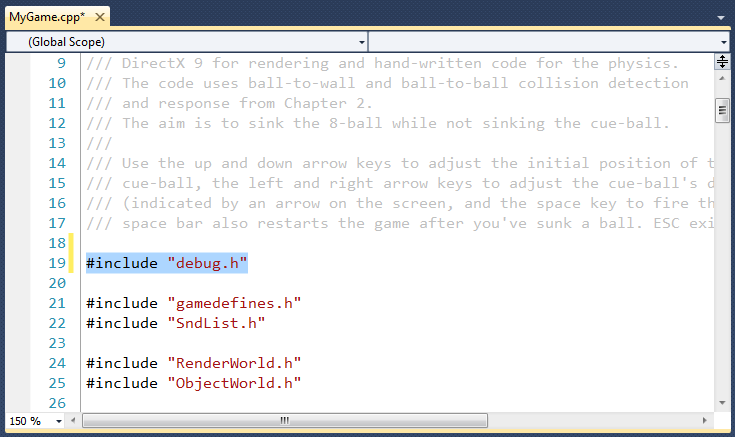
First make sure that you've #included debug.h in the source files that you
intend to debug.
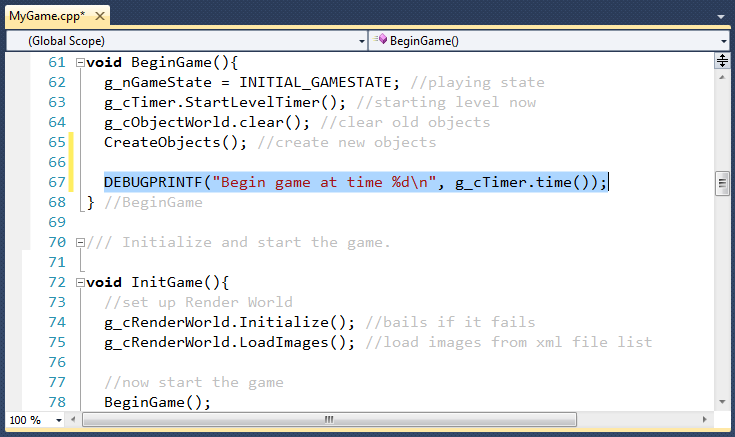
Then, use the DEBUGPRINTF macro for your debug output. The parameters
are exactly like the C stdio printf statement, that is, it has
a variable length parameter list, the first of which is a format string.
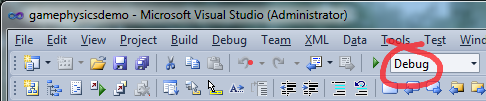
Make sure you compile in Debug mode. DEBUGPRINTFs are disabled in
Release mode.
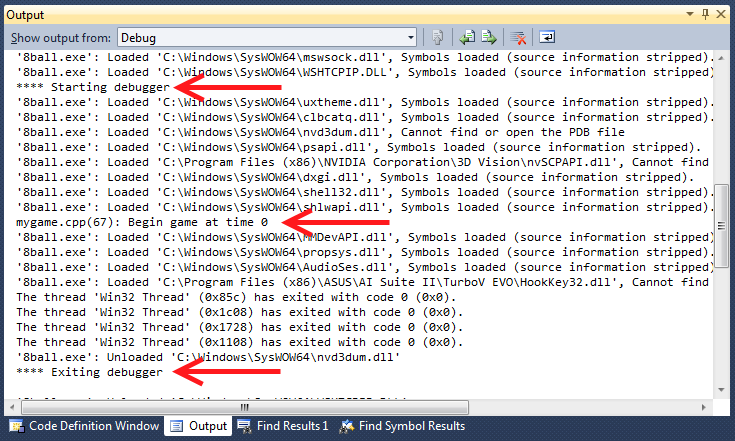
When you run your program with the debugger, your debug output will
appear in the Visual Studion Output pane along with all of the usual
obscure and annoying messages from the debugger. Notice that in
addition to a "Starting debugger" and "Ending debugger" message,
your debug output appears complete with the source code name
and the line number on which the DEBUGPRINTF appears. That will
help you match the debug output to the code.
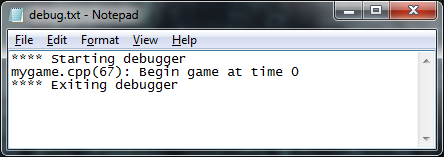
Debug output will also get saved to a text file.
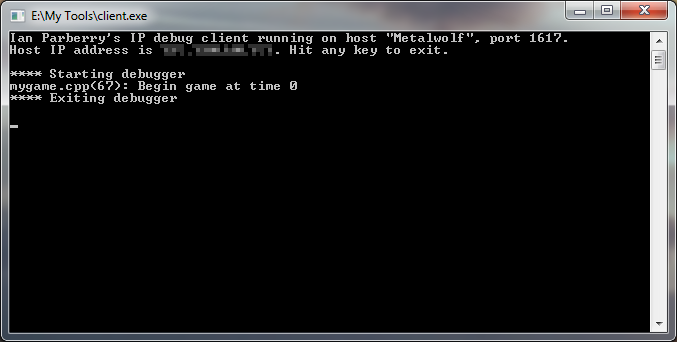
Finally, debug output gets send via UDP-IP to a custom debug client
that will catch it and display it in a window. This debug client can
even be running on another computer. You can download the
debug client here. Simply copy client.exe
to a convenient folder.
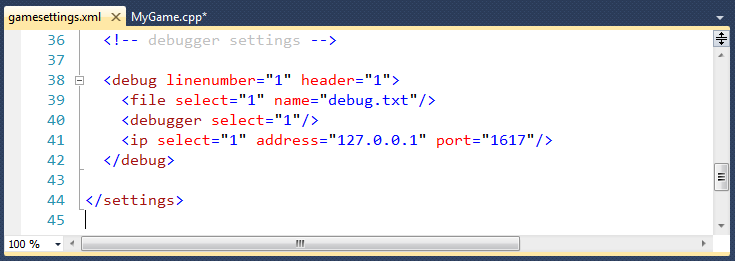
Debugger settings for your program are in gamesettings.xml.
Take a look at the XML tags and then I will explain what
they mean.
-
In the <debug> tag, change the linenumber attribute to "0"
if you don't want line numbers to be displayed, and
set the header attribute to "0" if you don't want the
"Starting debugger" and "Ending debugger" messages.
-
In the <file> tag, set the select attribute to "0" if you don't
want debug output to go to a text file. Set the name attribute to
your favorite text file name if "debug.txt" isn't good enough for you.
-
In the <debugger> tag, set
the select attribute to "0" if you don't
want debug output to go to the Visual Studio debugger.
-
In the <ip> tag, set
the select attribute to "0" if you don't
want debug output to go to the UDP client.
Set the address attribute to the IP address of the machine that is
going to run the client. It is currently set to localhost. If you
are not sure of the IP address of the target machine, run the client
there and read the IP address from the second line of output.
Don't change the number in the port attribute because it is hardwired
into the client.